Instructions for SQLiteStudio
These are brief instructions how to use SQLiteStudio in Aalto IT Linux computers. For more detailed instructions, see http://wiki.sqlitestudio.pl/index.php/User_Manual. You can also download SQLiteStudio to your own computer from page http://sqlitestudio.pl/?act=download.
Creating the example database
- Download the file exampledatabase.sql (MyCourses/Exercises/Exercise Round 2) to your computer.
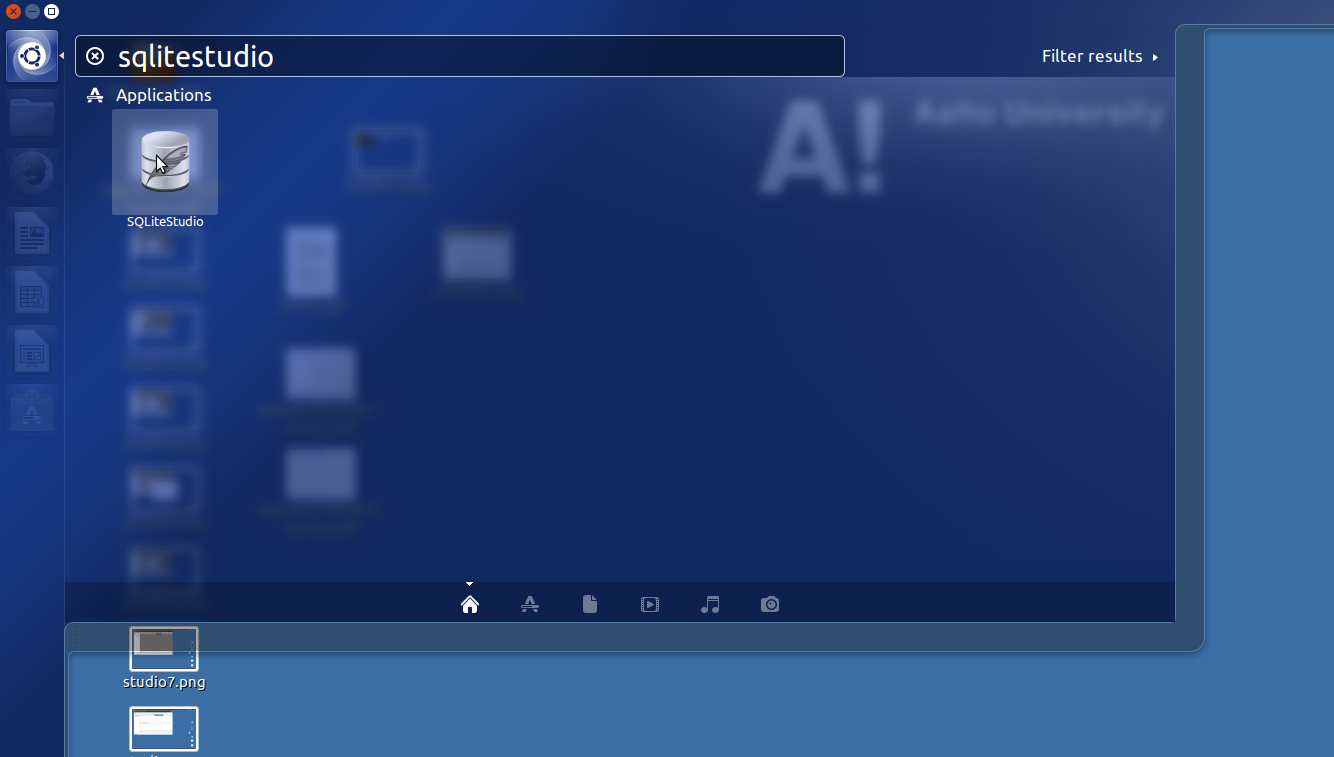
- Find SQLiteStudio by clicking the icon in the upper left corner and writing sqlitestudio. Start SQLiteStudio by double clicking its icon.
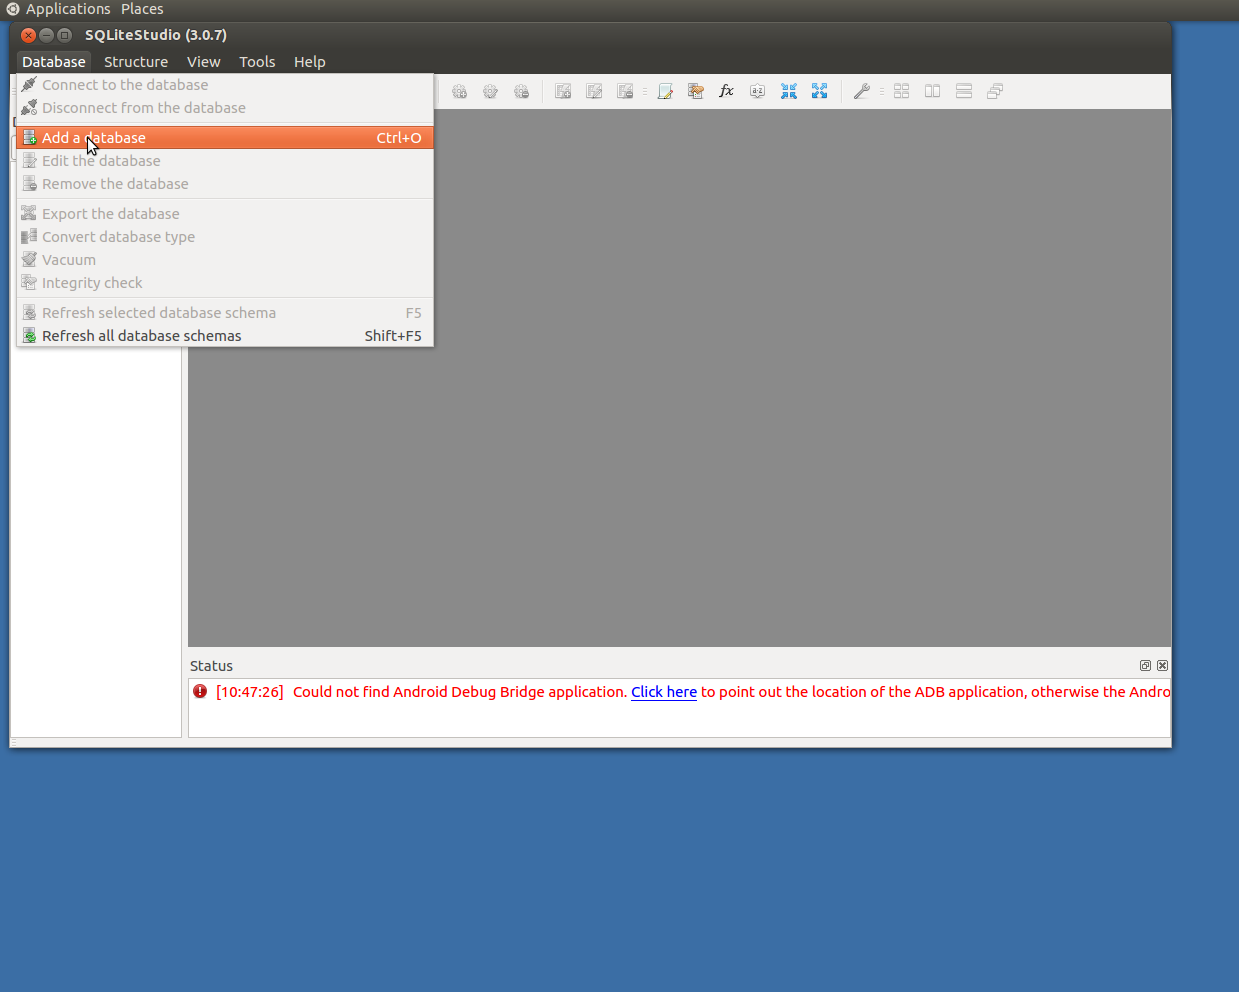
- When SQLiteStudio has started, choose Add a database from Database Menu.
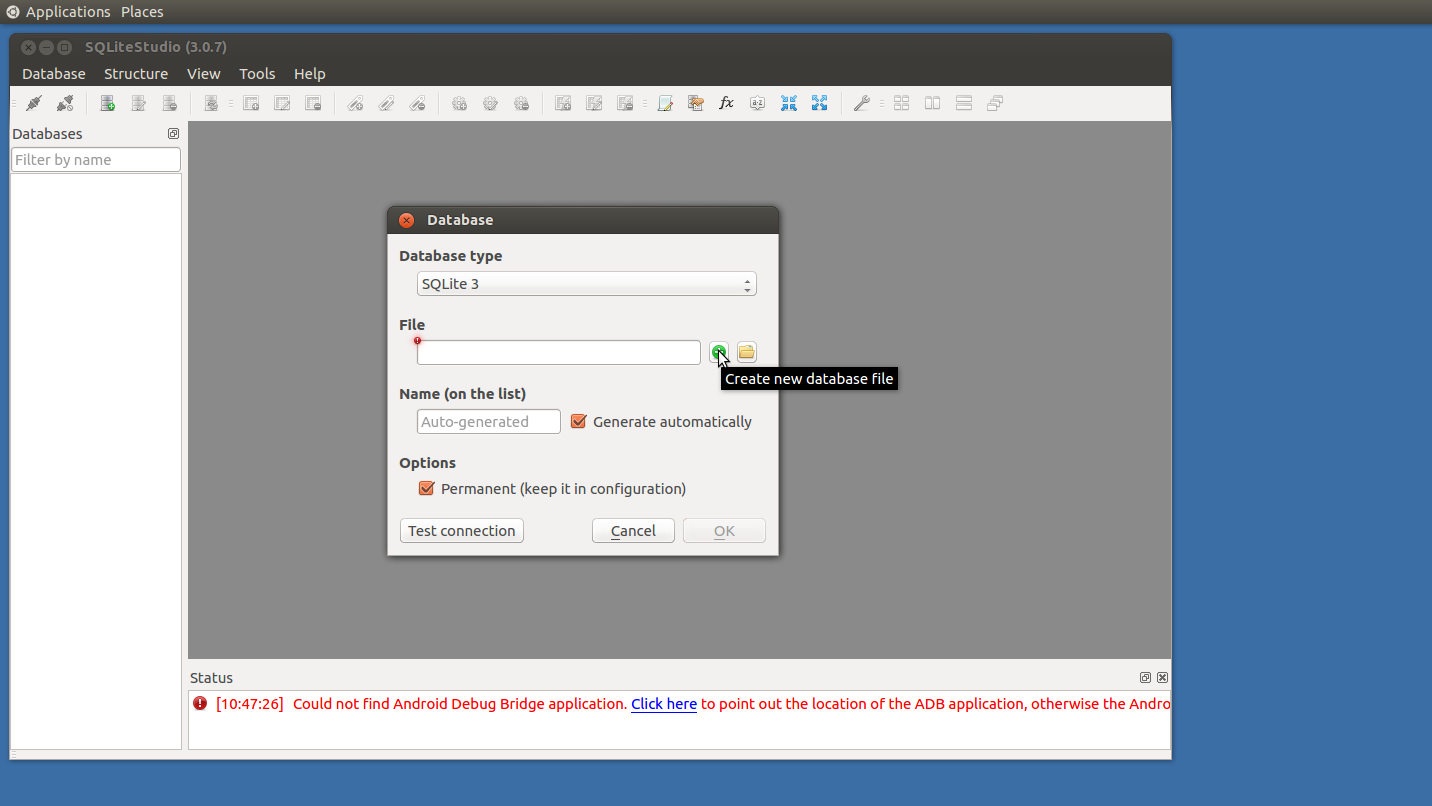
- Click the green circle with +-sign.
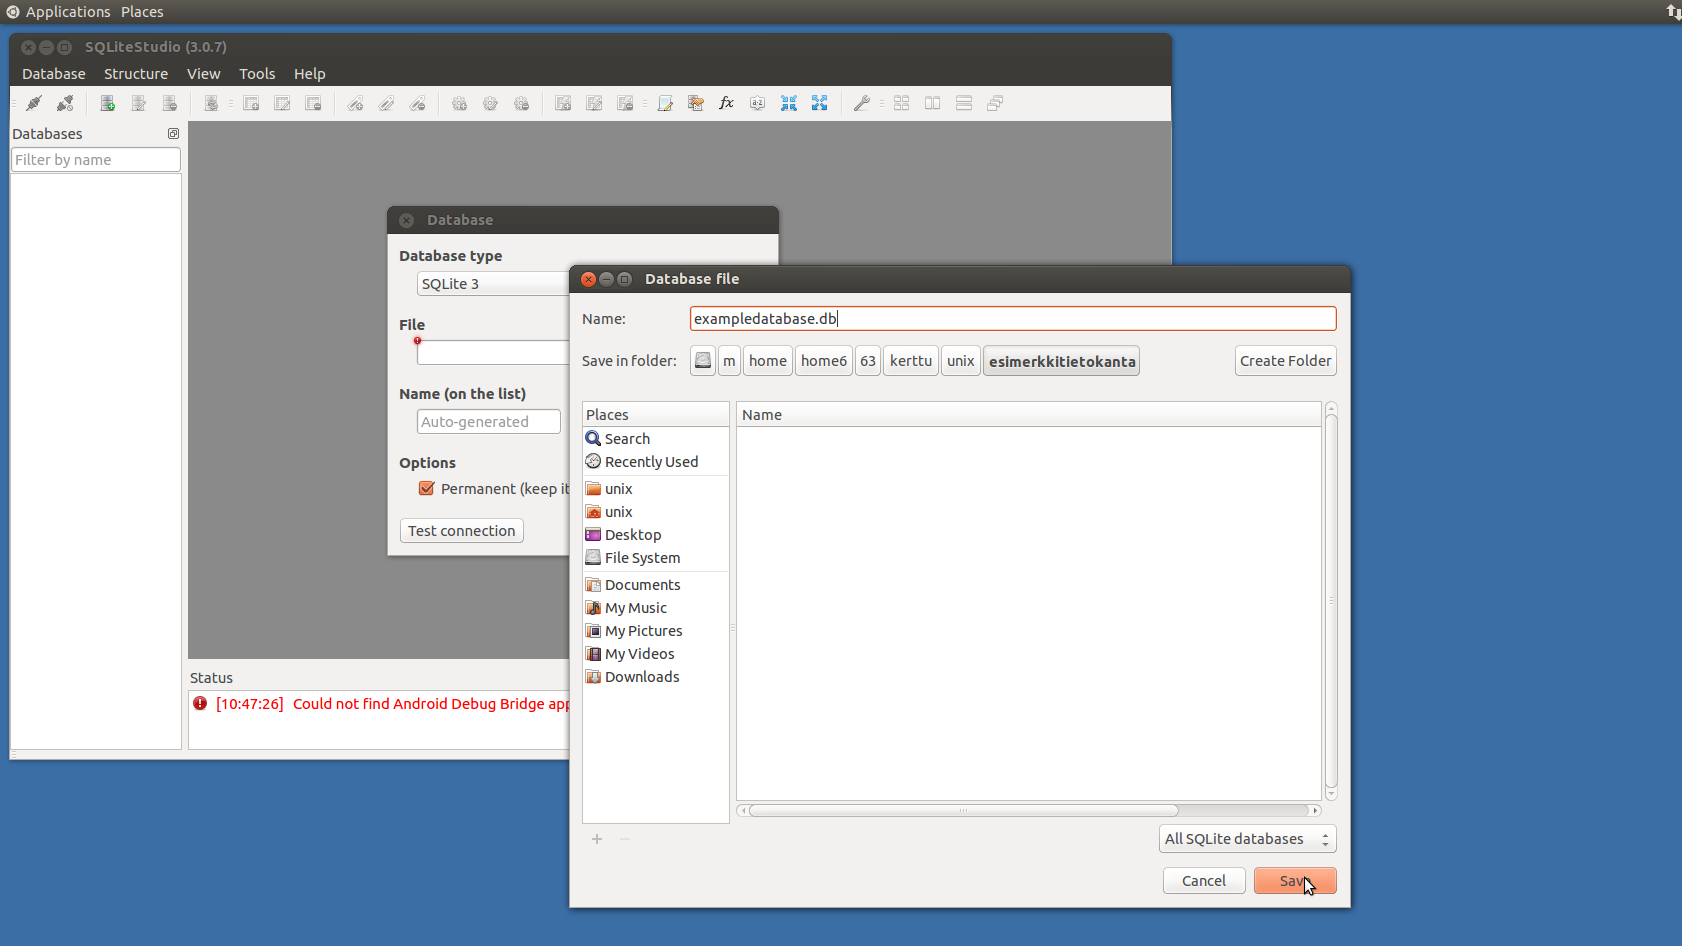
- Choose the directory where you want to save your database and write the name of the database file in the Name field (you can decide the name yourself, but it is common to use the suffix .db for SQLite database files). This is the name of the file where your database will be saved, not the name of the .sql-file. Push the Save button.
- Push OK button.
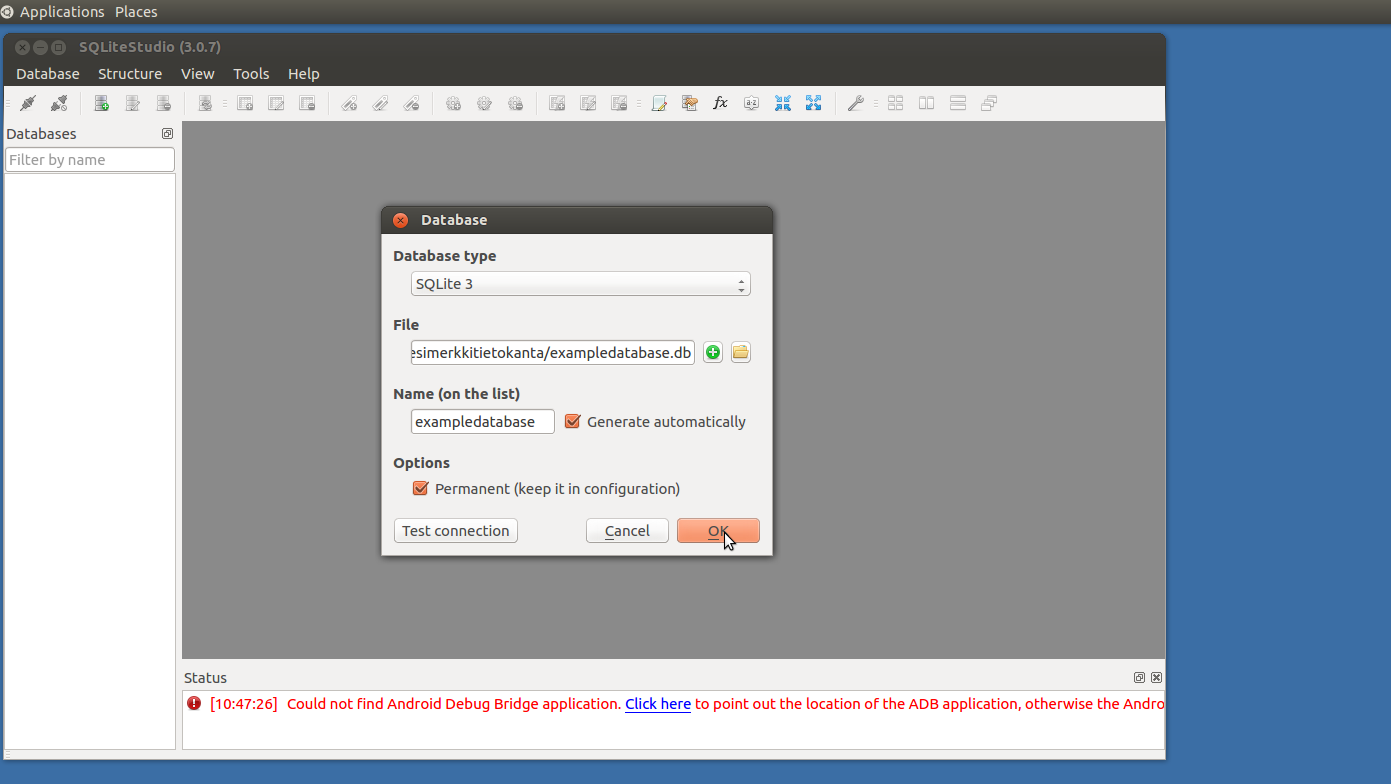
- Open the SQL editor.
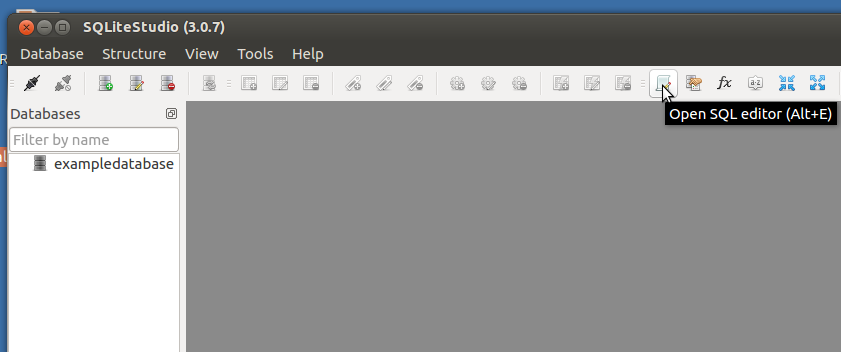
- Double-click the name of the database on the left and after that choose the database from the drop down combo box up.
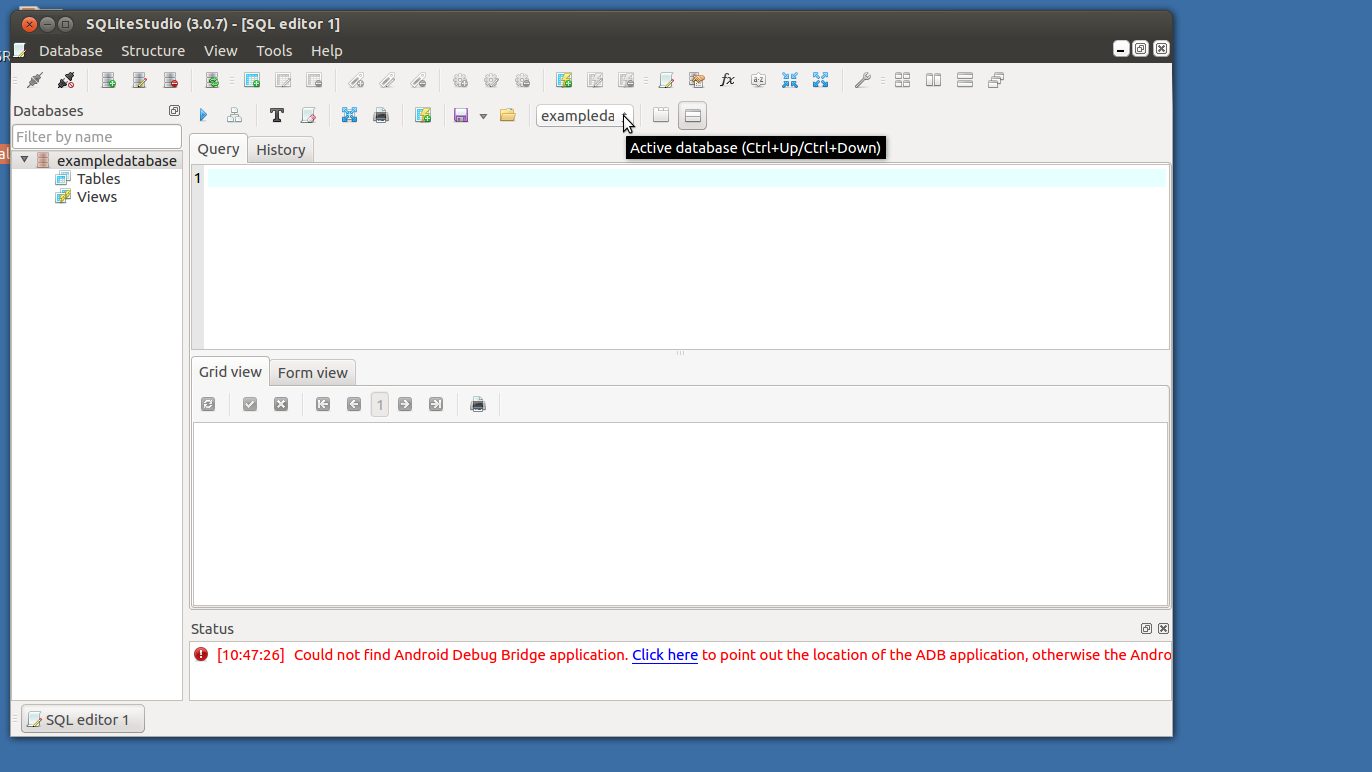
- Press the Load SQL from file icon and open the file exampledatabase.sql.
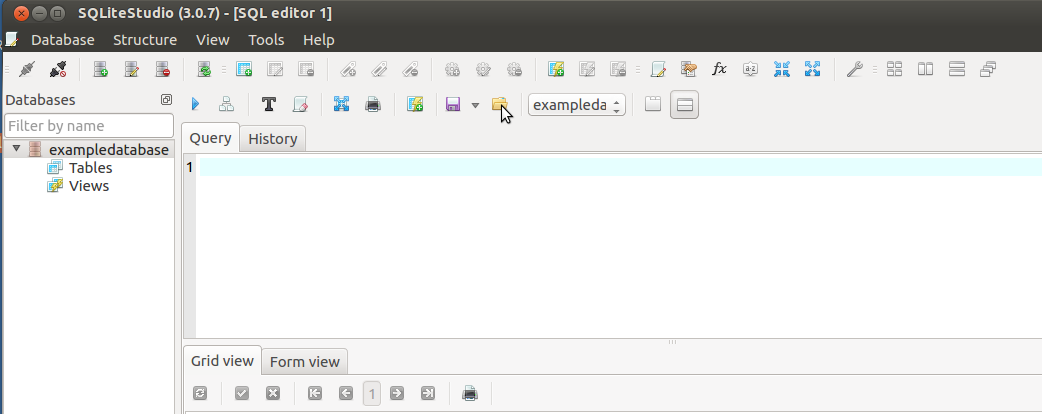
- The contents of the file should appear in the upper part of the window.
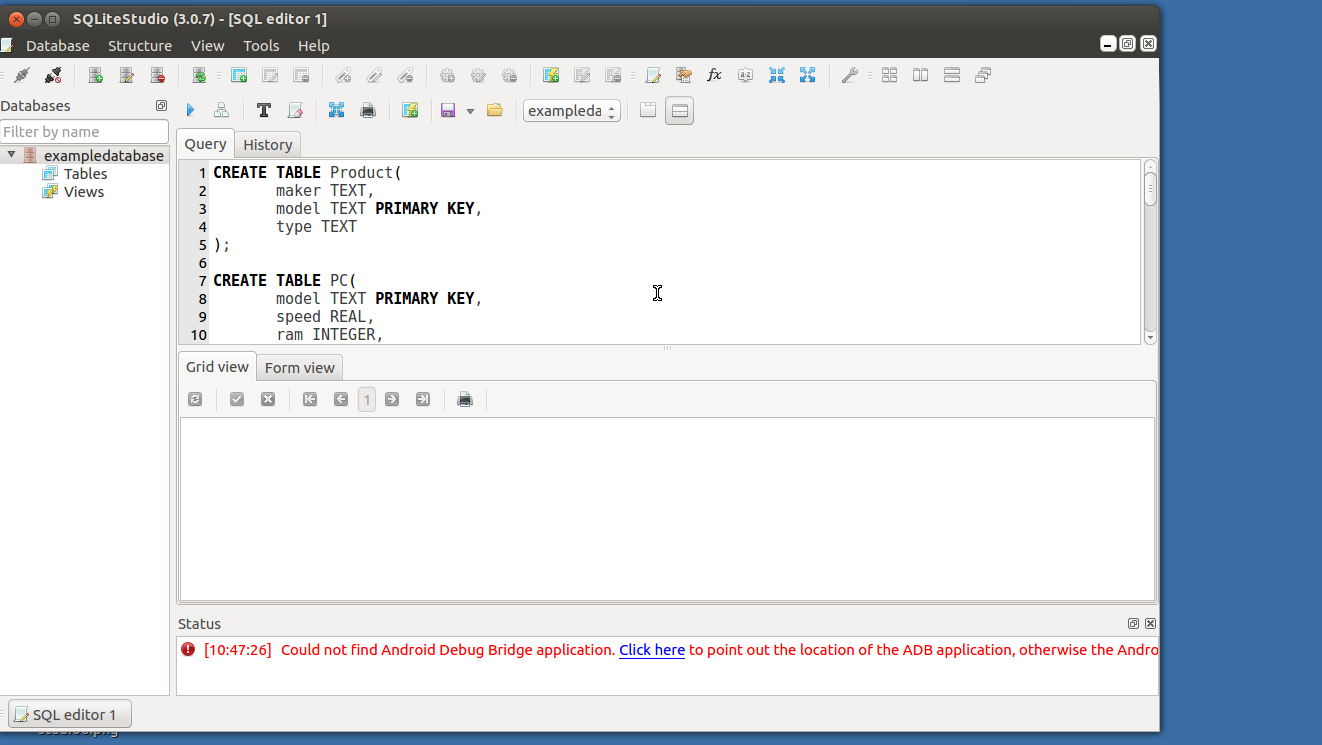
- Select all SQL statements in the upper part of the window with the mouse and press the green Execute query arrow. This executes the sql queries in the window. After that, the example database is ready. (According to the SQLiteStudio user manual, it should be not necessary to select the statements before pressing the execute button. However, the lecturer has noticed that in practice not selecting all the statements may lead to the situation where only one of the statements is executed.)
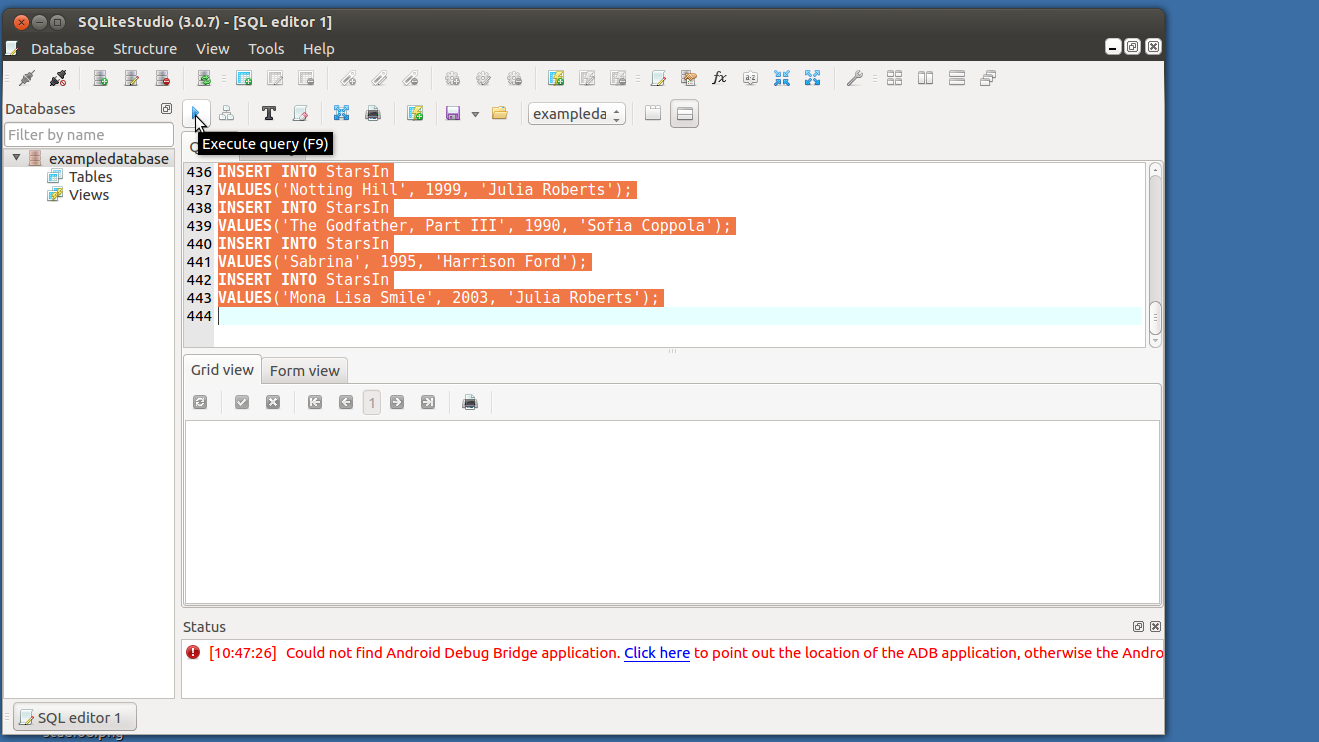
- Either clear the query tab or open the SQL editor again. After that, you can start writing your own queries. You can also read queries which you have saved to a file using the Load SQL from file icon and save your queries to a file by using the Save SQL to file icon.
Using existing database
- If you have created the database in SQLiteStudio before, just open the SQL editor and choose the database you want to use from the drop down combo box. After that, you can write and execute your queries.

If something goes wrong
- If something goes terribly wrong and your database is a total mess, the easiest they to recover may be to delete your database and create it again from the beginning.
- You can delete the database by clicking the name of the database in the list left and selecting Database->Remove the database (this does not delete the database file, but it removes the database from SQLiteStudio).
-
You can also delete a single table by clicking its name and selecting
Structure->Delete the table. Alternatively, you can write
DROP TABLE xxx(where xxx is the name of the table to be deleted) in the SQL editor and push Execute query arrow.